Reason to manually install
and
configure DNS
Compared to DCPROMO, manually installing and configuring DNS creates a second (or more) system capable of running DNS queries on a network without creating multiple domain controllers. A network with multiple DNS servers can process DNS queries more efficiently which will increase network speed and productivity.
INSTALLING DNS SERVICE
Click on the Start Menu, click control panel, and click add or remove programs.
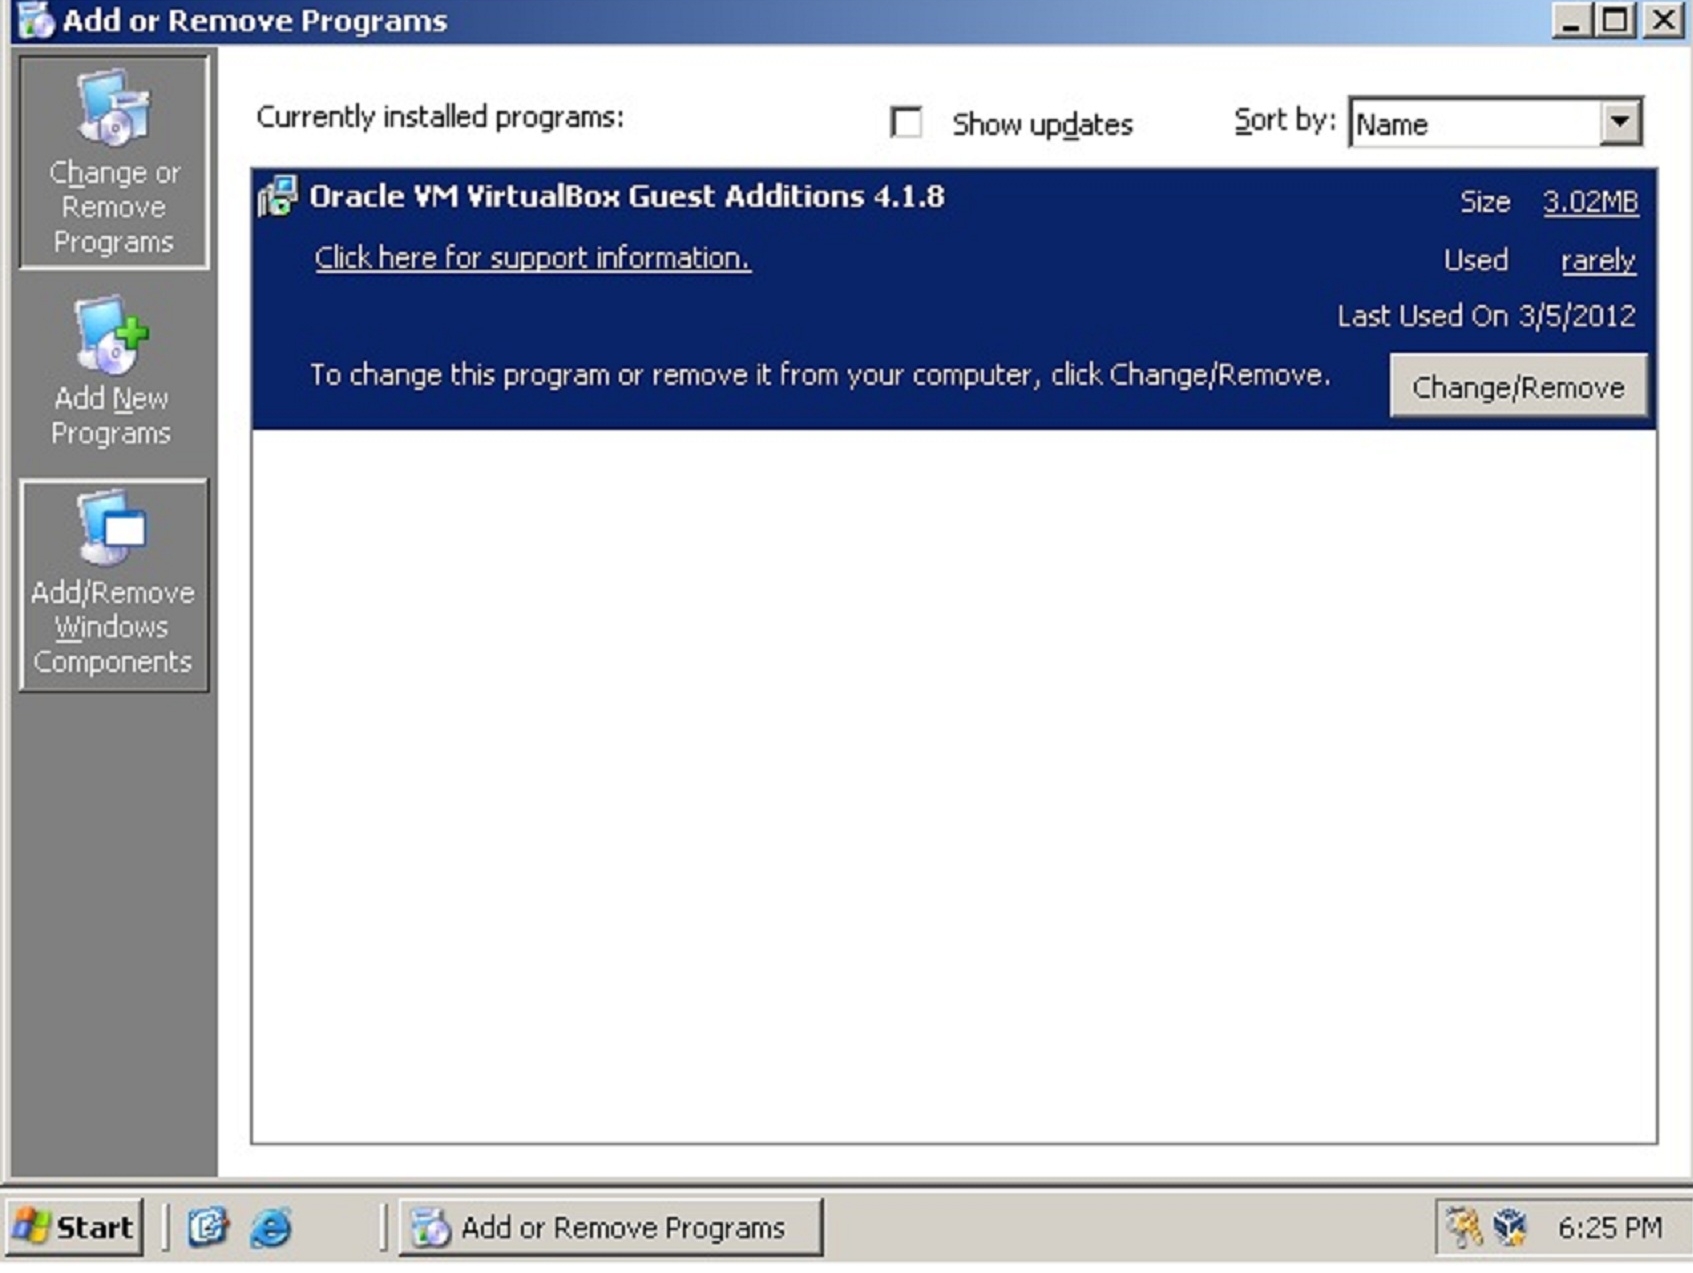
Click Add/Remove Windows Components. A window appears with a list of windows components. Find networking services(Thankfully it's alphabetical.)
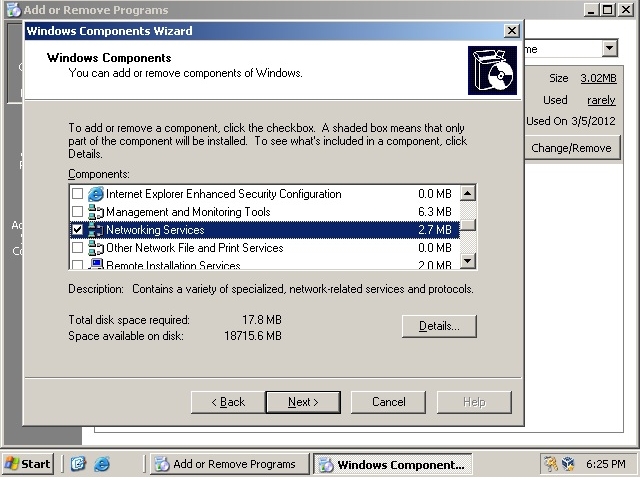
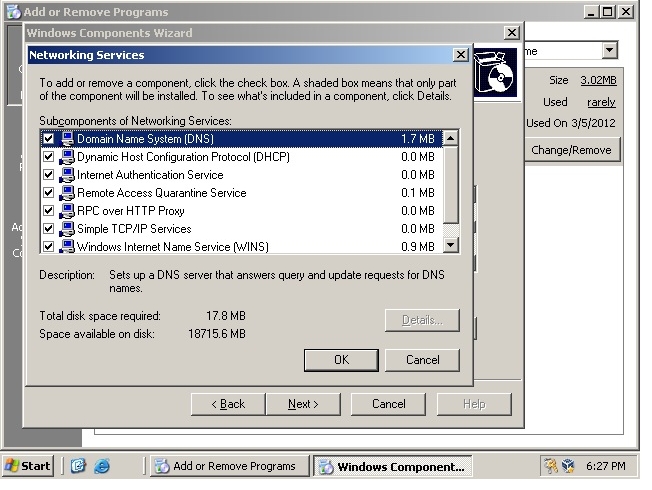
Under details, you can select DNS from a list of networking components to install. I installed them all, simply because I am lazy and did not want to uncheck all of the boxes.
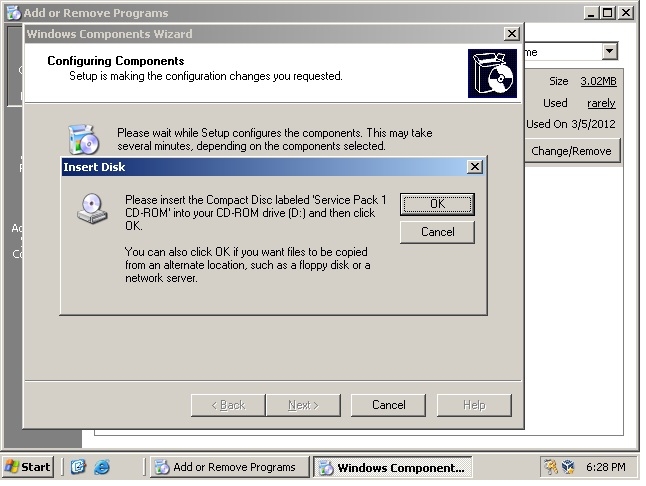
Following a click of OK and next you will probably be faced with the window below. I was not because I was using Virtual Box and I had set my D: drive to use the .ISO from my installation files. However, this is the same type of window faced during DCPROMO, simply browse to the location of the i386 directory to find the necessary files.
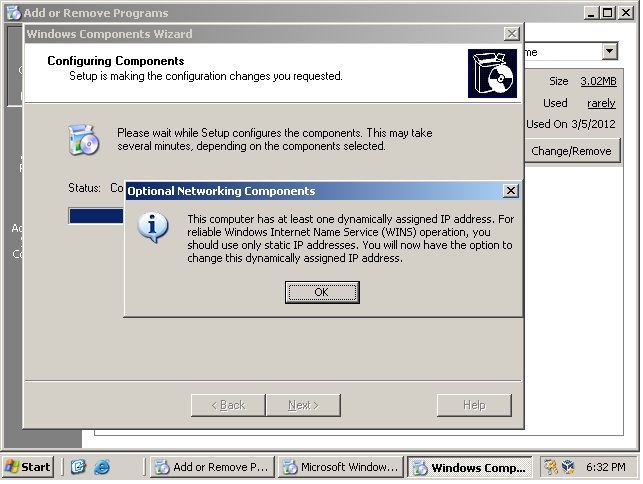
Midway through the installation process you will be prompted to set a static IP. By clicking okay the network connections window appears. Set up your static network configuration and click OK.
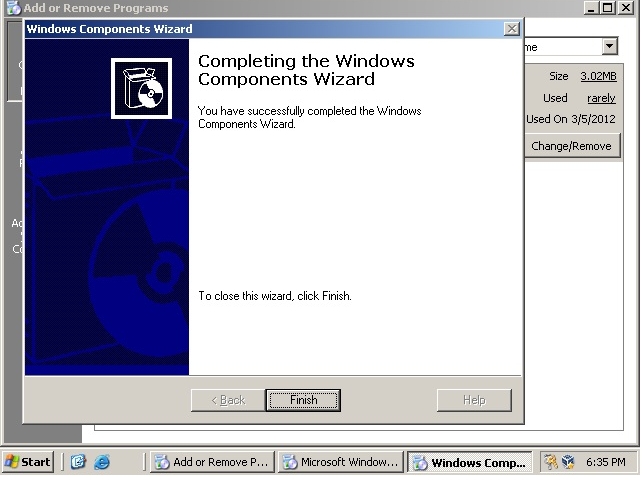
The installation process will conclude with a "completed the wizard" window. Click finish to close the wizard, as you are now done with installing DNS.
BUT WAIT!!!!!!!!
THERE'S MORE!!!!!!!!!!!!!!!
Now we must configure our DNS service
CONFIGURE DNS SERVICE
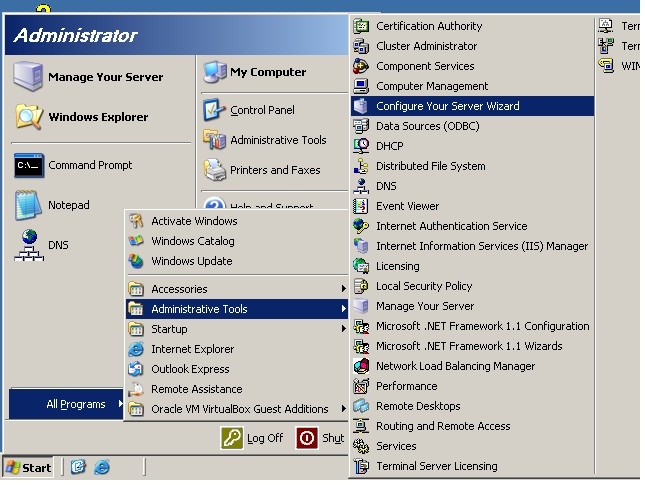
Click Start >>All Programs>>Administrative Tools>>Configure Your Server Wizard
(Yay, another Wizard)
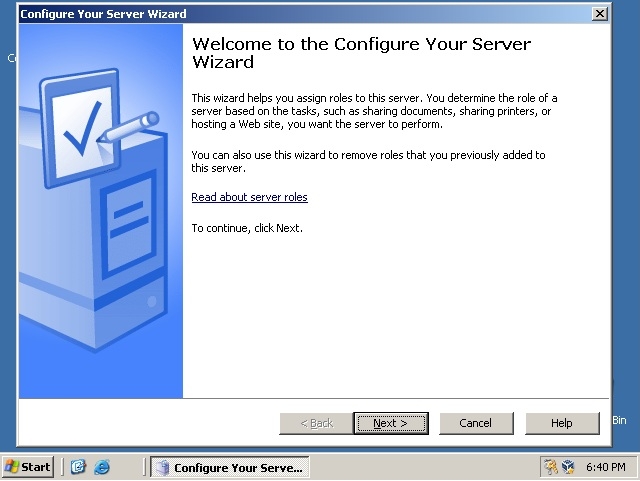
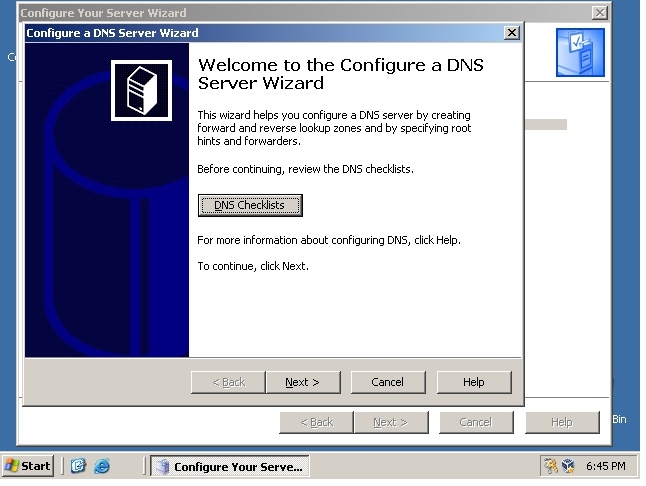
This is the start to configuring your DNS server.
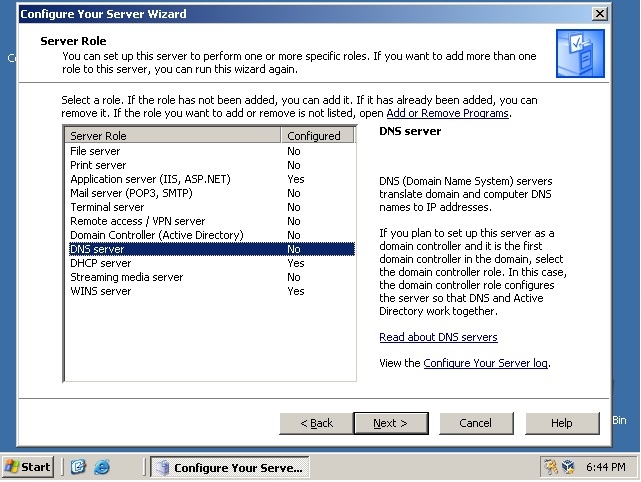
Click next through the "preliminary steps" menu and you find yourself at the Server Role menu seen below. Highlight DNS server and click next.
Clicking next will start the configuration process, which will bring you to setting up forward lookup zones.
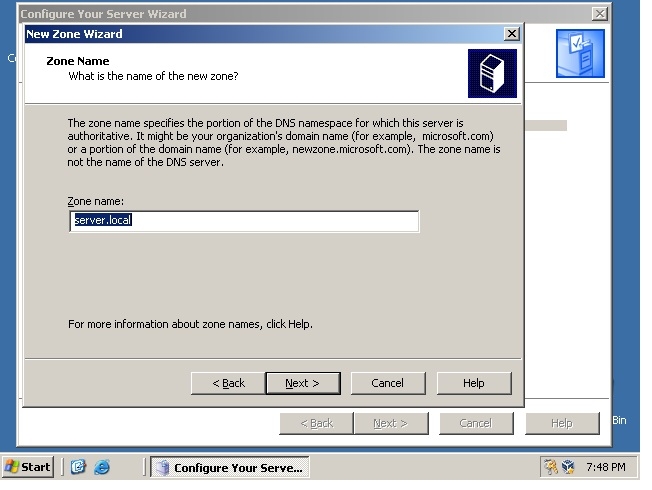
This window is where you actually name your forward lookup zone. A forward lookup zone is the area of your network that this DNS server has authority over.
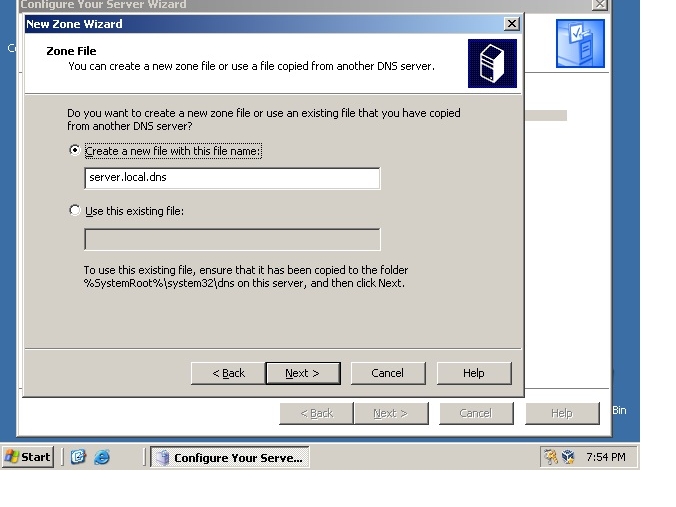
The next window prompts you to name the zone file, or use an existing one. Just keep the default and click next.
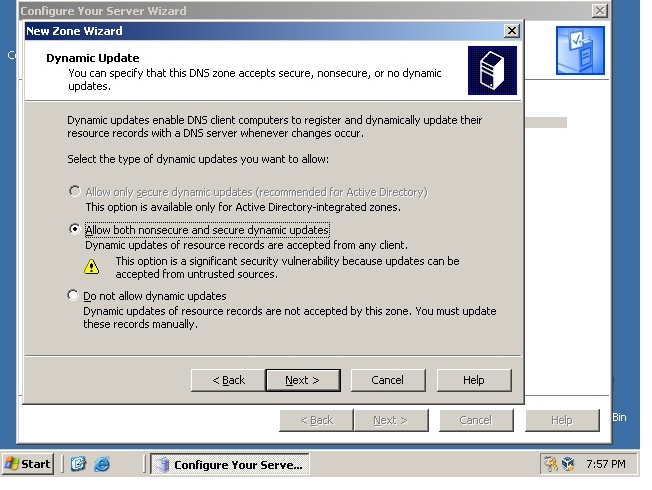
The next window configures updates for the DNS forwarding zone. Click the Allow both nonsecure and secure dynamic updates radio button and click next.
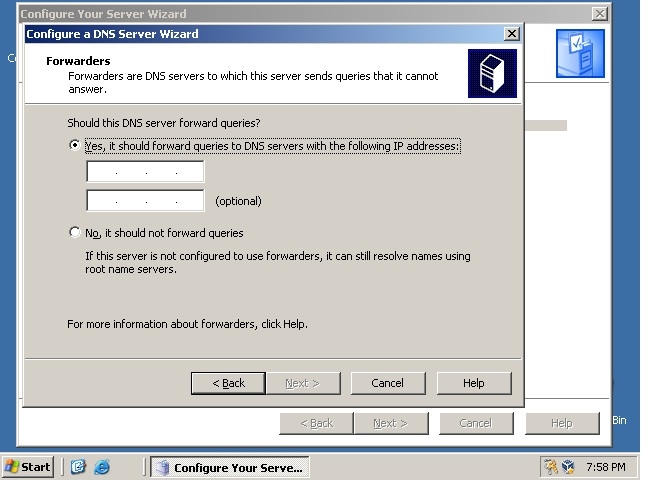
the next window allows you to set up forwarders on your DNS server. This will allow your DNS server to forward any DNS queries that is outside of its authority to an appropriate server so the query can be resolved. Fill the IP of a second DNS server and click next (or click the radio button to "No, it should not forward queries" if the network does not have a second DNS server) and click next.
The configuration is now complete and you are greeted with the "FINISH" button. CLICK IT!

This now concludes my presentation on how to setup and configure DNS on Windows Server 2003. Any questions?
http://support.microsoft.com/kb/814591
http://technet.microsoft.com/en-us/library/cc738344(v=ws.10).aspx